
 GERMAN
 FRENCH
 SPANISH
 DUTCH
DUTCH POLISH
 CZECH
CZECH
How to quickly scan a pack of documents
The efficiency of your work with a scanner depends on the software you use.
If you have to frequently scan batches of paper documents to PDF, you should think about how to optimize your work. ScanPapyrus offers a simple and effective solution to optimize document scanning.
With a flatbed scanner you have to run the scanning process manually for each page of the document.
Basically, scanning looks like this:

You put a document page to the scanner,

get back to your computer,

click the Scan button with your mouse in the scanning app,
then put the next page to the scanner, then again get back to the computer and so on.
For each page of the document! Switching from the scanner and back to the computer again slows down your work and distracts your focus. As a result, scanning even the simplest document takes a whole lot of time.
And here is how the same process looks in ScanPapyrus Batch Scanning:
You start batch scanning
and load the scanner with pages of your document not even turning to the computer.
That’s it! You don’t have to start each individual scan by hands from your computer now – it all goes automatically. You simply need to supply the scanner with next pages of your document. And you’ll be amazed how much faster the entire process becomes comparing to the traditional way to scan!
Another advantage of ScanPapyrus – you don’t need to shut the lid, because the program automatically crops unnecessary light-struck margins. With one more routine action rendered unnecessary, your everyday scanning becomes faster, freeing up more time for you to do really important things.
Let’s see how you can use batch scanning in ScanPapyrus.
Start batch scanning
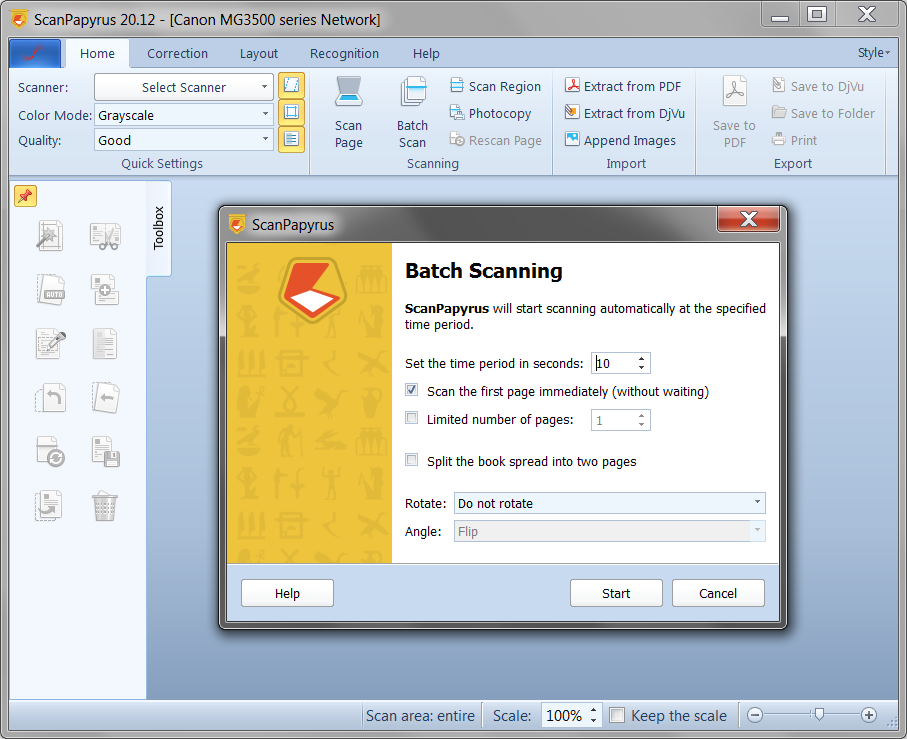
Run ScanPapyrus. You can do this using the desktop shortcut or from the Start menu. Then, select the scanner by clicking the Select scanner button. Select the color and quality of the scan. Grayscale and good quality are usually enough for scanning common documents. Click the Batch Scan button.
In the opened dialog set the scanning interval. Usually 5-10 seconds, are enough to flip the page or place another one. Remember, you don’t have to raise/put down the lid of the scanner. However, the lid enhances scanning quality by evenly pressing the page against the glass. It is up to you to decide whether you want to use the lid or not. If you don’t, we recommend pressing the page against the scanner with your hand a little bit.
Scan the document
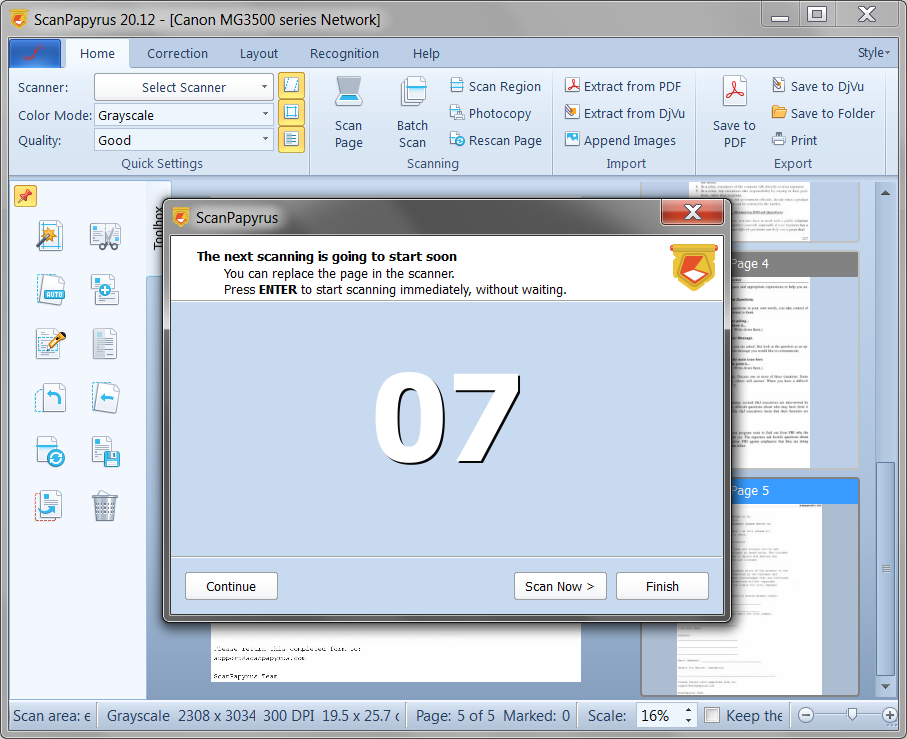
Click the Start button to start batch scanning. We assume the first page is already on the glass. When the scanner finishes the job, the ScanPapyrus program launches the countdown until the next scan starts. Within the indicated 5-10 seconds you should flip the page and place it on the scanner. When the program counts down to zero, the next scanning cycle starts.
Repeat this step over and over until all pages of the document are scanned.
When the last page is done, click the Finish button in the program.
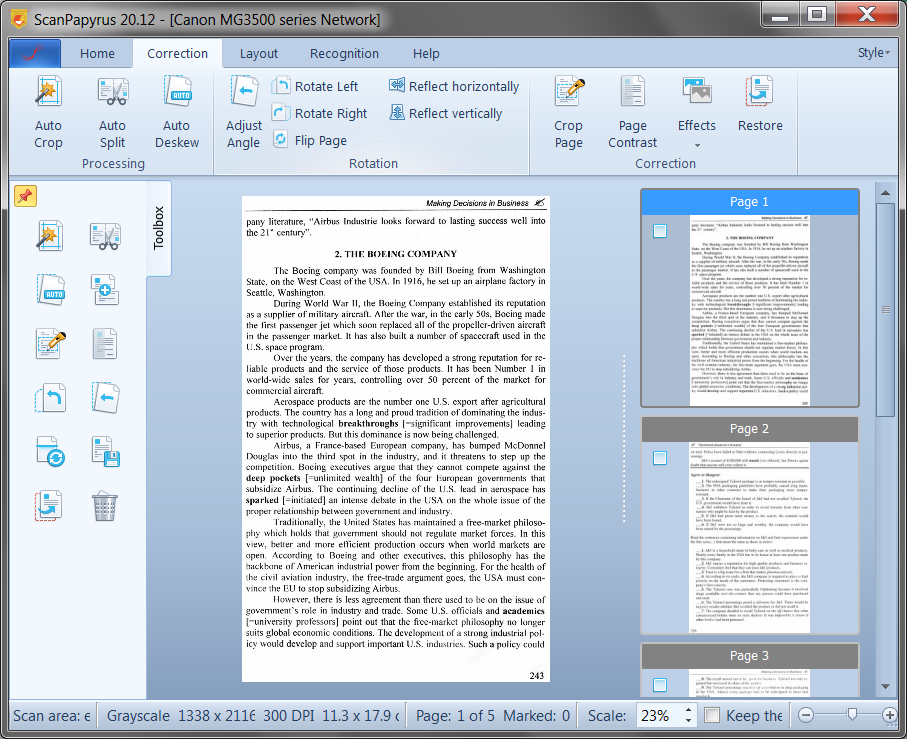
Check the scan quality
Please make sure all pages of the document are scanned correctly. If you believe some page isn’t scanned as it should be, you can re-scan it.
Alternatively, you can use the built-in image editor and try to edit the poorly scanned page. You can adjust brightness and contrast or crop the page and remove some part of the scanned image. You can also use Auto Crop to automatically remove unnecessary parts of the page.
Don't be alarmed if the pages turned out to be of different sizes. When you save the document as a PDF, they'll all be the same size, and the program will add an A4-sized background layer, for example.
Save the document to PDF
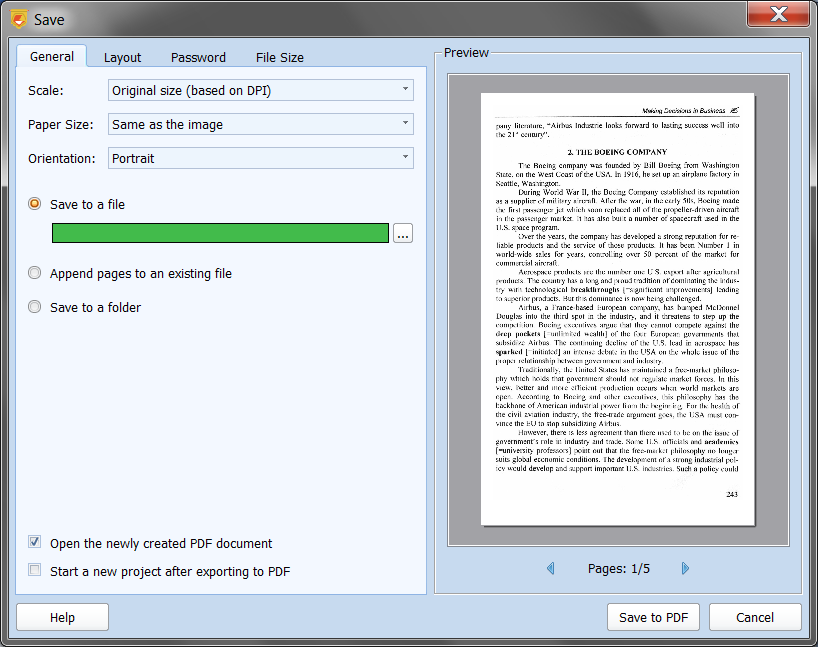
Now you can save the document to PDF. Click the Save to PDF button. Select a location where you want to save that PDF file. This could be one of typical locations – Desktop, My Documents, or any other folder on your computer.
In addition, you can select PDF exporting parameters. For example, choose the desired page format – A4, A6 or others. You can also set how the scanned image must be placed on the PDF page, centered, for example. The results are immediately displayed in the preview window on the right panel. When the result looks satisfactory, click the Save to PDF button. The program creates the PDF file. The created document will be opened with the default PDF viewer, for example, Adobe Reader.
NAVIGATE
ABOUT US
ScanPapyrus Team develops home and office applications for Windows. Our programs are known for their high quality, user-friendliness and comprehensive design.
PARTNERS
![]()