Scanning old photos
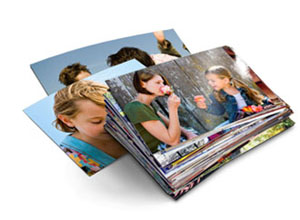
Quite a few people who have lived in the good old days when film cameras were widely used have accumulated tons of memorable photos printed on photographic paper. Now more and more photographers are thinking about digitizing their old photos to save them from inevitable degradation or share them with friends via social networks. Oftentimes, people have a lot of photos worth preserving in the digital form, and their digitization may take a lot of time. If you want to scan your old photos quickly and easily, ScanPapyrus may be a great help.
ScanPapyrus is a Windows application mostly intended for batch-scanning of paper documents or books, but it is also very useful for photo scanning! Read more to learn how to scan photos with ScanPapyrus.
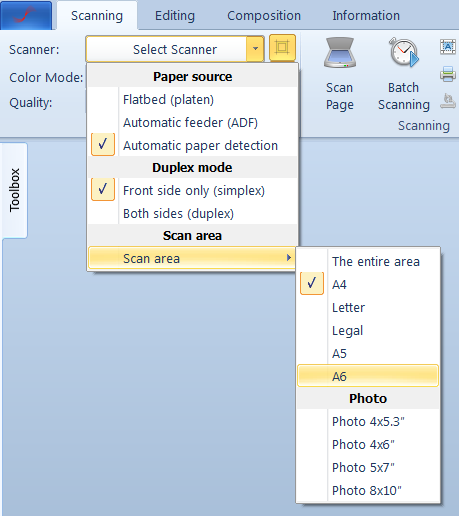
In most cases, a photograph is much smaller than the entire scan area, which means you can scan photos more quickly by limiting the scan area! You can do it as follows: Сlick the down-arrow in the Select the Scanner drop-down button in the ScanPapyrus taskbar. When the drop-down menu opens, select Scan area, and then select the A6 option. The scan area will be limited to the A6 paper size, that is, 10.5 cm by 14.8 cm (4.13 in. by 5.83 in.). That scan area is sufficient for scanning photos of the most popular size, 10 cm by 15 cm (4 in. by 6 in.).
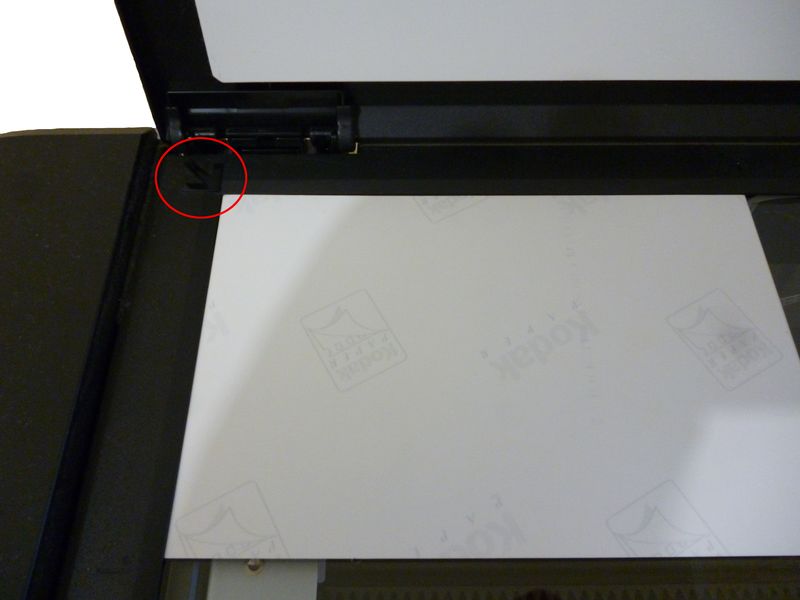
You need to correctly position each photo on the flatbed (“glass”). Flatbed scanners usually have a special mark for that purpose: an arrow that points to the scanning start point. The actual scan area size is always measured from that point. Make sure that you position the corner of the photo at that mark.
You also need to disable the automatic contrast adjustment in ScanPapyrus. That feature is useful when scanning documents, but if you use it when scanning photos, the colors will be distorted. So use the Auto Contrast button to disable that option. You can also disable the auto-crop function using the Auto Cropping button as you have already set the fixed scan size.
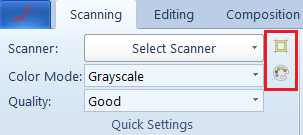
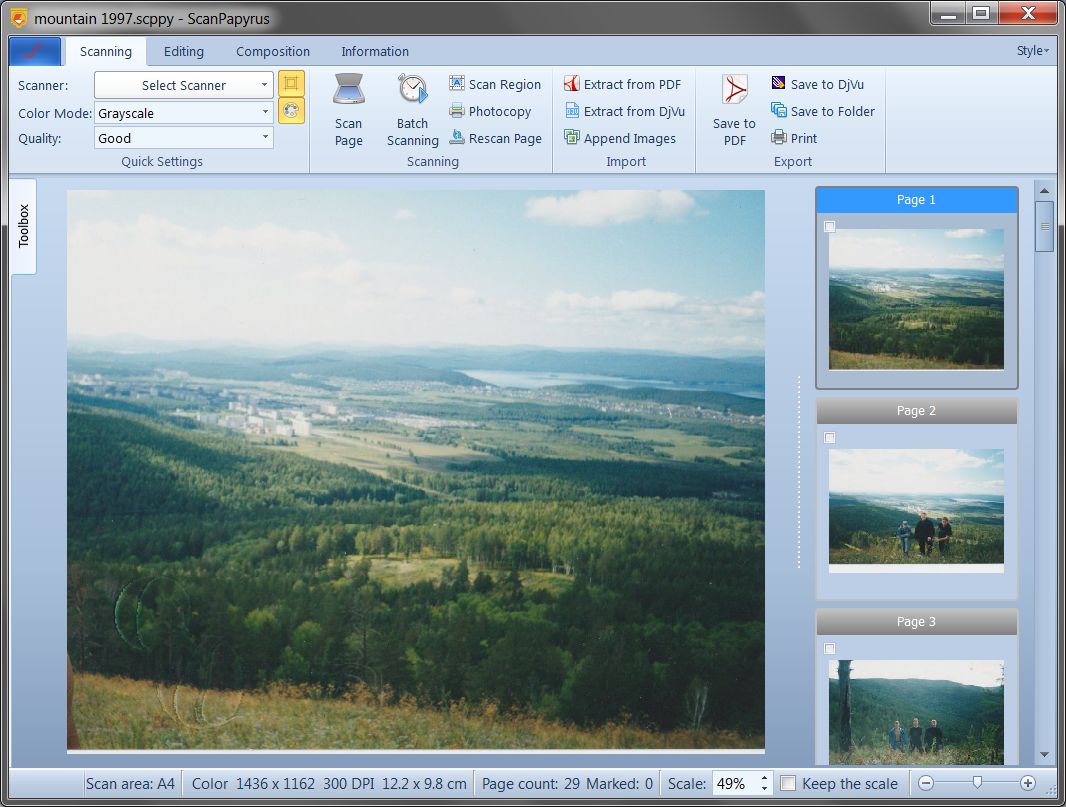
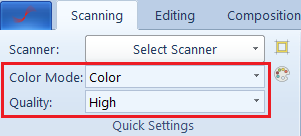
By the way, ScanPapyrus automatically saves all the changes to its settings, so you won’t have to configure it again when using it next time to scan photos. It is very important that you set the scanning quality correctly. When scanning photos, always select the “High” quality option, which corresponds to the scanning resolution of 600 dpi. Make sure that you set the color mode correctly: “Color” for color photos, or “Grayscale” for black-and-white ones.
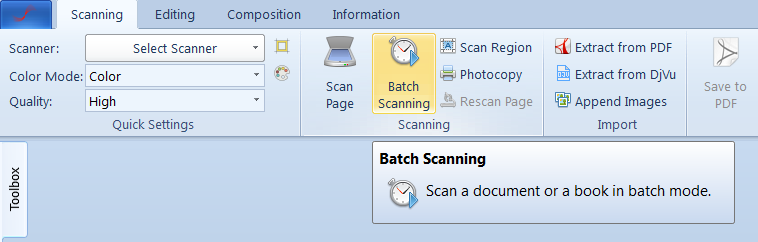
Now you can start scanning your photos. If you need to scan a lot of photos, you may want to use the batch scan mode. In that mode, you don’t need to click the Scan button each time you need to scan a photo. The photos will be scanned automatically one by one based on the preset time interval. You only need to replace the photos in the scanner, and leave the rest to ScanPapyrus.
Click the Batch Scan button.
Set the time interval. In most cases, 10 seconds is enough to replace the photo in the scanner. Put the first photo in the scanner, close the lid, and click the Next > button.
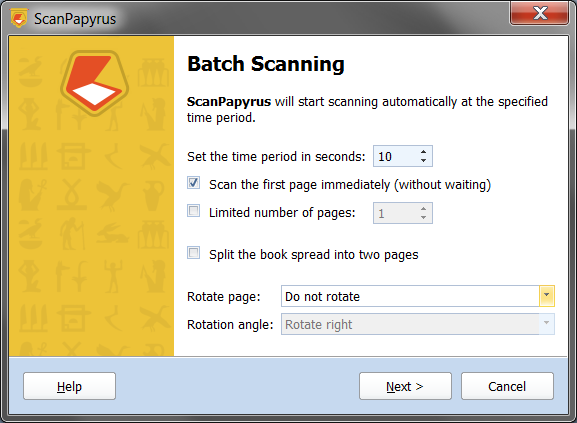
The scanner will start scanning the photo. When the scanning is complete, ScanPapyrus will start counting down the time allocated for replacing the photo in the scanner. As soon as the countdown is over, the next scanning cycle will begin. If you have replaced a photo in the scanner before the countdown is over, you can press the Enter key to skip the rest of the countdown and start scanning the next photo immediately.

After scanning the last photo, click the Finish button.
That’s all, you have scanned all the photos! Now it’s time to prepare them for saving to your computer.
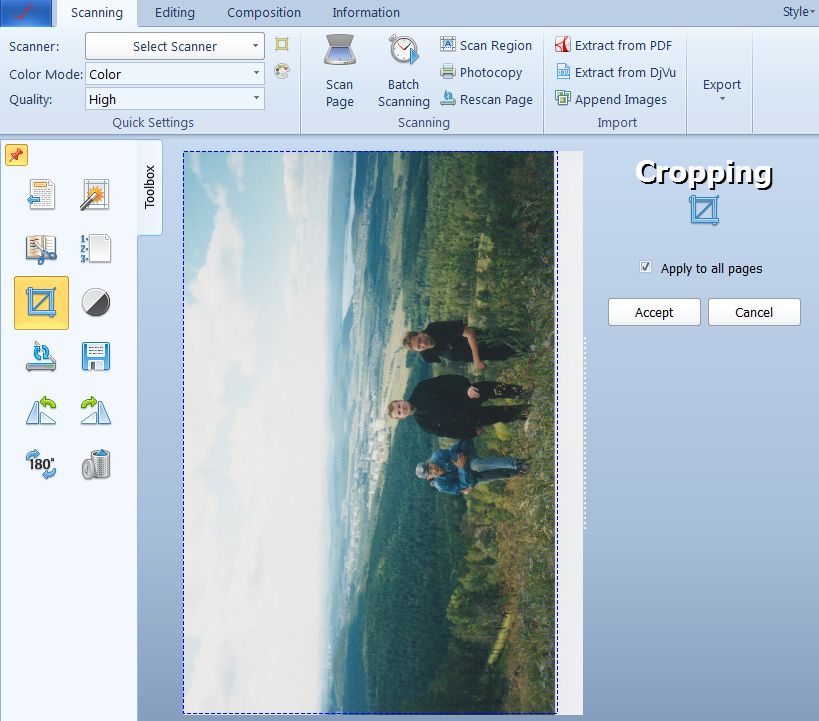
The actual size of each photo was 10 cm by 15 cm (4 in. by 6 in.), but the scan area was limited to 10.5 cm by 14.8 cm (4.13 in. by 5.83 in.). As a result, each scanned image has an unnecessary margin on one side. Its width is 0.5 cm (approximately 0.2 in.). You can easily remove that margin as follows: Click the Crop the Image button in the ScanPapyrus taskbar.
Select the useful image area, leaving the unnecessary part outside of the blue dashed rectangle. Check the Apply to all pages checkbox, and then click the Accept button. ScanPapyrus will remove the margin.
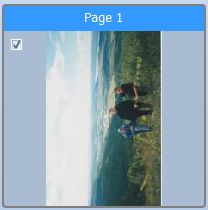
You may also need to rotate some photos 90 degrees clockwise or counterclockwise, or 180 degrees. Mark the photos that you want to rotate by checking the checkmark in the top-left corner of the respective thumbnails, and then click the Rotate button. Each marked photo will be rotated as specified.
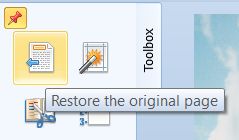
If something went wrong, you can always undo the changes by clicking the Restore button. You can also apply that operation to all the photos by selecting them by pressing Ctrl + A.
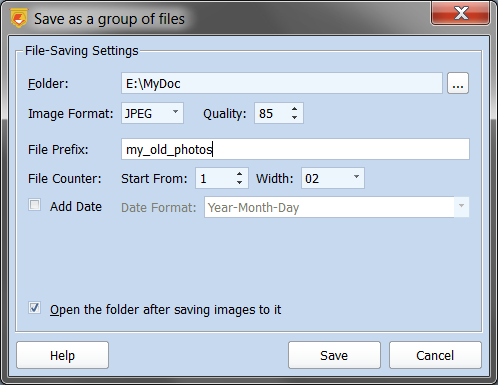
Now you can save the photos to your computer. Click the Save to a Folder button.
When the file saving dialog box appears, select the folder to which you want to save the photos. Select the JPEG image format and set the image quality (90 percent or more). Specify the filename template (for example, my_old_photos), and finally click the Save button.
As you can see, ScanPapyrus is, among other things, a great photo scanning application. You can download it from our website.
NAVIGATE
ABOUT US
ScanPapyrus Team develops home and office applications for Windows. Our programs are known for their high quality, user-friendliness and comprehensive design.
PARTNERS
![]()