ScanPapyrus Installation
It is quite easy to install ScanPapyrus and the process does not differ from installing any other software for Windows.
Running the setup
Run the downloaded file named scanpapyrus.exe to install ScanPapyrus. You can execute it directly from a browser or locally. Usually, web files are downloaded to the Downloads folder in the My Documents folder.
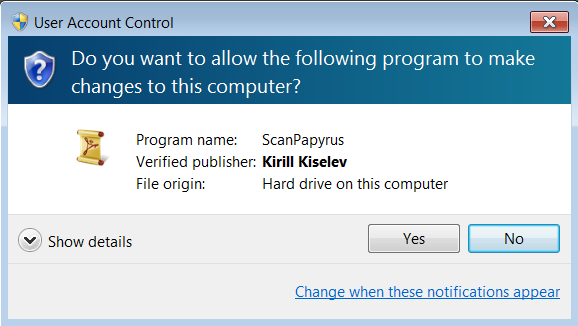
Windows informs you that a setup software attempts to run. Click the Yes button.
Next step is selecting the language of the setup. The default language is English.
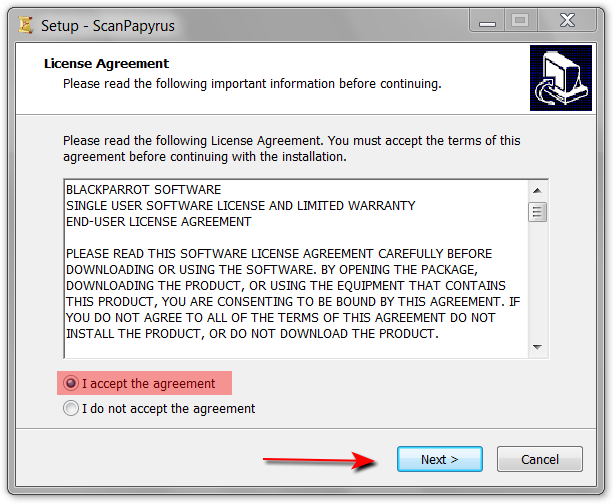
License Agreement
On the next step you should read and accept the license agreement. The license agreement regulates software usage terms and conditions. Select “I accept the agreement” and proceed to the next step.
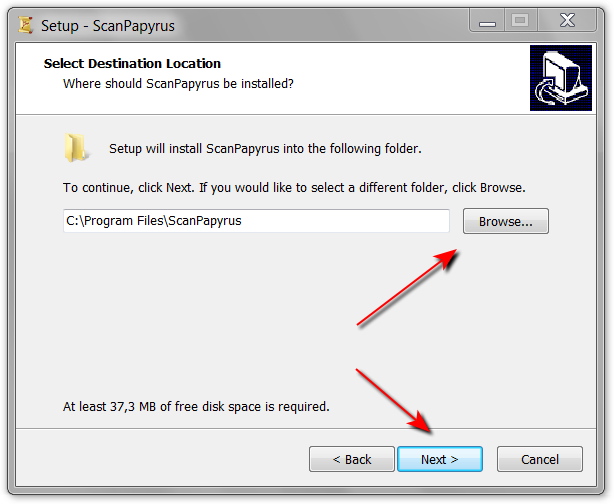
Selecting the installation folder
Then, the setup asks for a folder where ScanPapyrus software must be installed. By default this folder is C:\Program Files\ScanPapyrus. We recommend using this folder.
Under 64-bit Windows the following folder is suggested instead: C:\Program Files (x86)\ScanPapyrus.
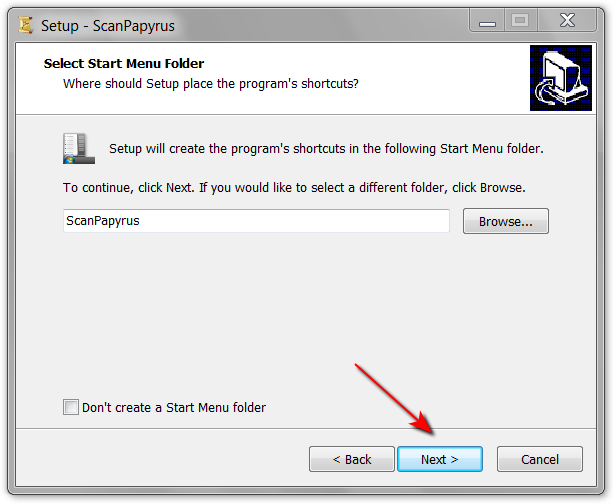
Creating the Start menu shortcut
Then, you are asked of whether you want to create a Start menu shortcut to ScanPapyrus. By default, a ScanPapyrus folder is created in the Start menu. You can skip creation of this folder in the Start menu. In this case, only the Windows desktop shortcut is created.
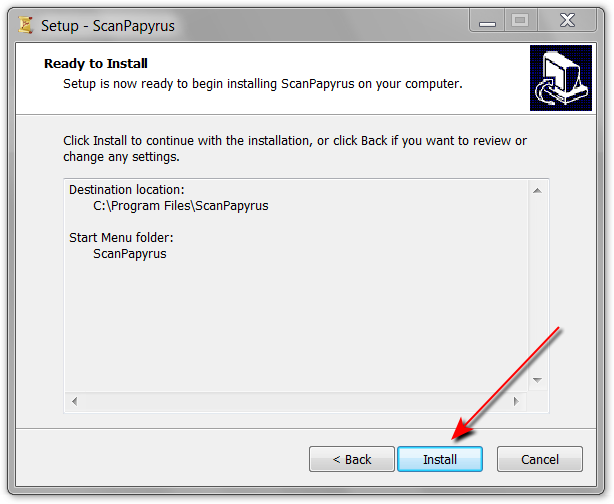
Checking the parameters
On the next step, the setup program displays all the chosen installation parameters and asks for confirmation. If you are sure that all parameters are specified correctly, click the Install button. If something is wrong, go back with the Back button.
Installing ScanPapyrus
Now, the program is being installed on your computer. The setup process displays a progress bar indicating the remaining time. The installation is quick and it doesn’t take for too long.

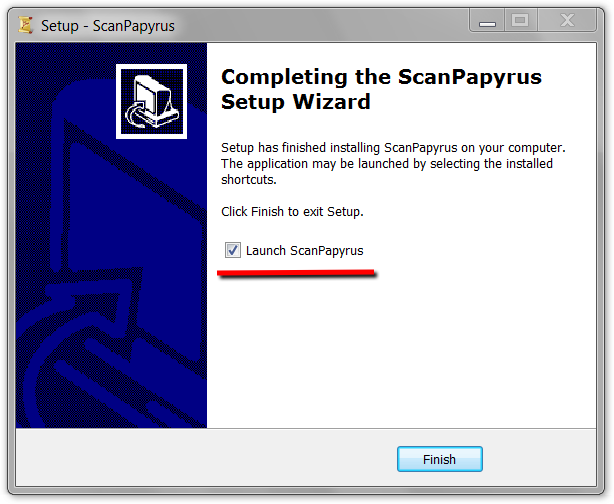
Finishing the installation
The ScanPapyrus software is installed successfully. You can run the program using the Desktop shortcut or the Start menu shortcut.
NAVIGATE
ABOUT US
ScanPapyrus Team develops home and office applications for Windows. Our software is known for its high quality, user-friendliness and comprehensive design.
PARTNERS
![]()