How to edit a PDF file
In ScanPapyrus 15.15 we added the ability to edit PDF files. The new version can extract all images from a PDF file and create a new document project from them. You can edit some pages (for example, crop the margins of a page, or rotate the page a specified degree), change the page order, or remove some pages. Alternatively, you can auto-crop all pages, which will not only cut off any excessive margins, but will also adjust brightness/contrast (any grayish background will be turned into a white one).
Below you can find a step-by-step description of how we substantially improved a low-quality PDF file.
We’ve got a PDF file created by scanning a paper document at some company. We do not know exactly which scanning application was used, but the PDF file was of extremely poor quality: Some pages were badly skewed; all pages had grayish background, and their margins were too wide. Well, we decided to fix the document to make it look nicer.
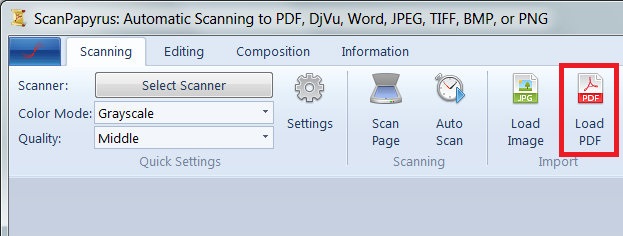
We launched ScanPapyrus and loaded the PDF document by clicking the Load PDF button. The application extracted all pages from the PDF document and created a ScanPapyrus project.

We decided to apply the auto-cropping, skew adjustment, and contrast adjustment algorithms to all pages. To do that, we opened the application’s settings to set the following options.
On the “General” tab, we turned on the Automatic skew adjustment and Automatic contrast adjustment options. On the “Cropping” tab, we set margins at 2 mm, so that text would not bee too close to the page border.

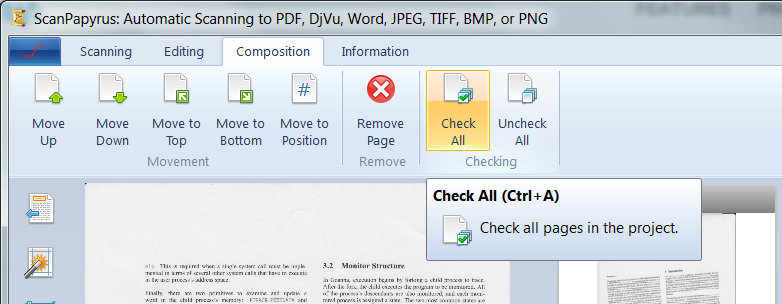
Then we selected the pages that we wanted to be auto-cropped. To do that, we checked the pages’ checkboxes in the list at the right. (The checkbox field is located at the top-left.) As we wanted to auto-crop all pages, we pressed Ctrl+A, switched to the “Composition” tab, and clicked the Check all button.

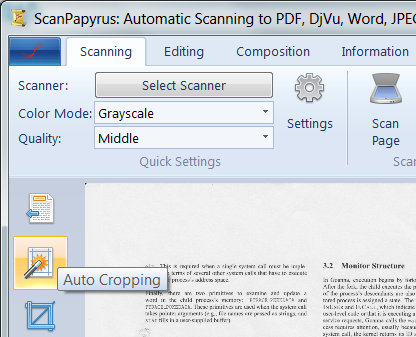
After marking the pages, we launched auto-cropping by clicking the Auto-cropping button (located at the left on the panel). Soon enough, ScanPapyrus had completed processing the pages.

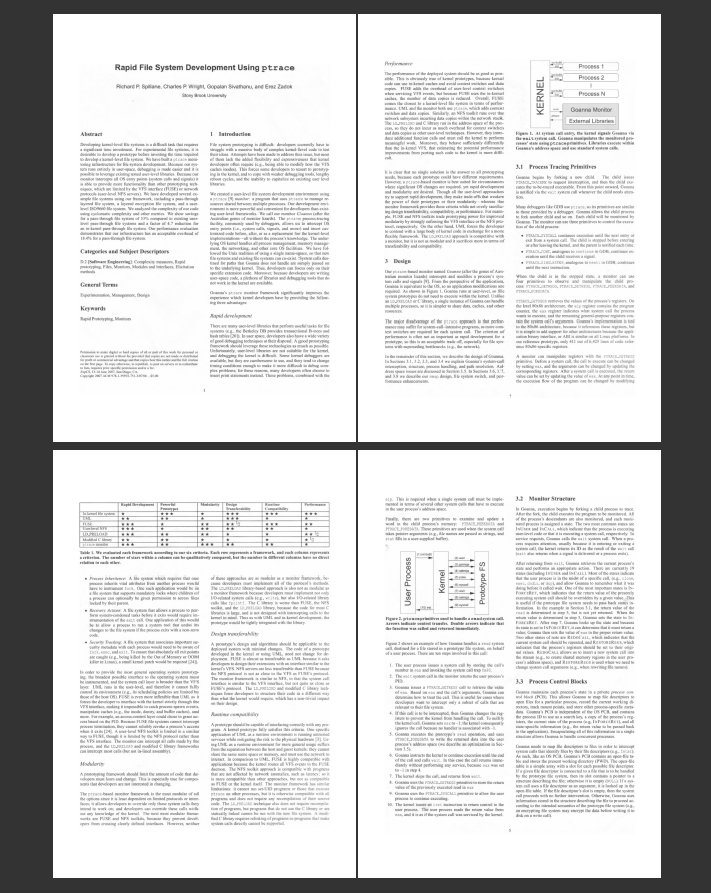
We evaluated the result: All pages were accurately cropped, any skews were adjusted, and the grayish background became white. We were satisfied with what we saw, so we saved the project to PDF. To do that, we clicked the Save to PDF button and saved the new file.
As a result, we got a PDF document of much higher quality, which was good enough to send to another company.


