Batch document scanning
Contents
The batch scanning mode forces the application to start scanning repeatedly at the specified time interval. This approach allows you to greatly speed up multi-page document, a book, or photos scanning as you don’t have to manually execute the scan command using the keyboard or the mouse each time you need to scan a page. All you need to do is change the page in the scanner.
If the batch scanning mode is enabled, the application can perform the following operations:
Rotate the page 90 degrees (clockwise or counterclockwise) or 180 degrees.
Auto-crop the page to remove unnecessary margins or black stripes.
Auto-adjust the brightness and contrast of the page, decolor the background, and intensify the text.
Deskew the page (if it is skewed, the application will rotate it as necessary).
Split the page that is actually a pair of facing pages into two separate pages.
The batch scanning process consists of three steps.
Step 1: Set up batch scanning parameters
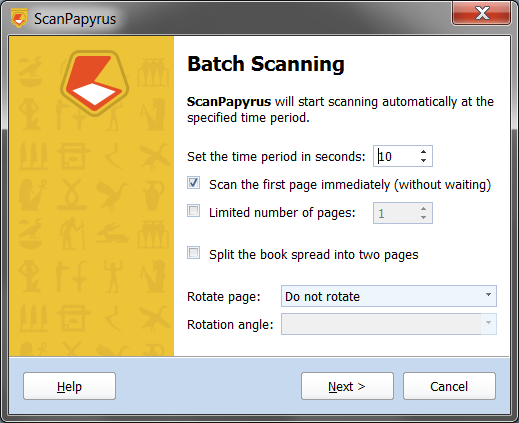
At this step, you need to set up batch scanning parameters:
The time period in seconds (for example, 10 seconds). You can set a time period from 1 second to 60 seconds. In most cases, 10 seconds is more than enough to replace a page in the scanner.

If the Scan the first page immediately (without waiting) checkbox is checked, the application will start scanning immediately when you click the Next > button. If the checkbox is not checked, the application will duly wait for the specified time, and only then will start scanning.

The Limited number of pages checkbox allows the user to stop the scanner after scanning the specified number of pages. The user can enter the number of pages into the text field next to the checkbox. After the specified number of pages have been scanned, the application will pause scanning (the timer will stop). At that step, the user can either finish the scanning or restart the timer.
Scanned pages are counted by the number of scanning passes, not by the number of output pages. So even if two pages are produced when scanning a book spread, it will be counted as one scanning pass.

If the Split the book spread into two pages checkbox is checked, it will be easier to scan a book. The application will consider each scanned page to be a pair of facing pages, and will try to split it into two separate pages. As a result, you will get two separate document pages in one scanning pass, meaning that you can scan books much faster.

The Rotate listbox allows you to set up rotation parameters. The following rotation options are available:
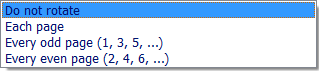
Do not rotate – The application will not rotate the scanned page.
Each page – The application will rotate each scanned page by the specified angle (+90, –90, or 180 degrees).
Every odd page (1, 3, 5, ...) – The application will rotate each odd page (1, 3, 5, 7, etc.) by the specified angle, but will not rotate any even pages. This option might be useful when you are scanning a large book, each page of which is of the size А4 or Letter. Some flatbed scanners (for example, the ones with a side lid) allow you to scan such books only if the orientation of odd pages is opposite to that of even pages. For example, each even page is scanned in the correct position, but each odd page has to be positioned upside down. If you check the Every odd page checkbox, each upside-down page will be automatically rotated to the correct position.
Every even page (2, 4, 6, ...) – The application will rotate each even page (2, 4, 6, 8, etc.) by the specified angle, but will not rotate any odd pages. This option works similarly to the previous one.
The Rotation Angle listbox allows you to select the rotation angle.
The following options are available:

Flip – Rotate the page 180 degrees
Rotate Left – Rotate the page 90 degrees counterclockwise
Rotate Right – Rotate the page 90 degrees clockwise
Step 2: Launch batch scanning
After selecting the batch scanning options, click the Next > button. Depending on the status of the Scan the first page immediately (without waiting) checkbox, either scanning will scan immediately, or the application will wait for the specified time and then start scanning.
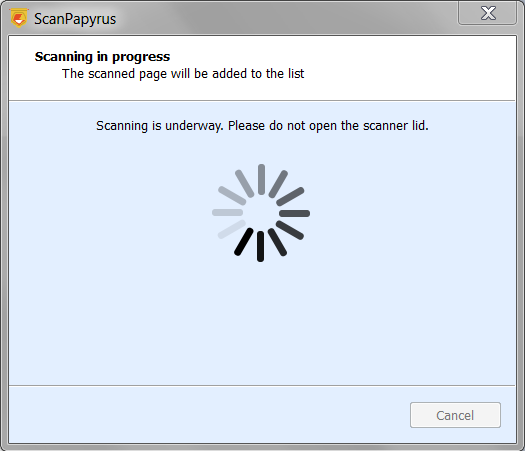
After scanning the page, the application will process it as specified (rotate, auto-adjust, or split into two pages), and then add the resulting one or two pages to the project.

Step 3: Countdown
At this step, the countdown will start.
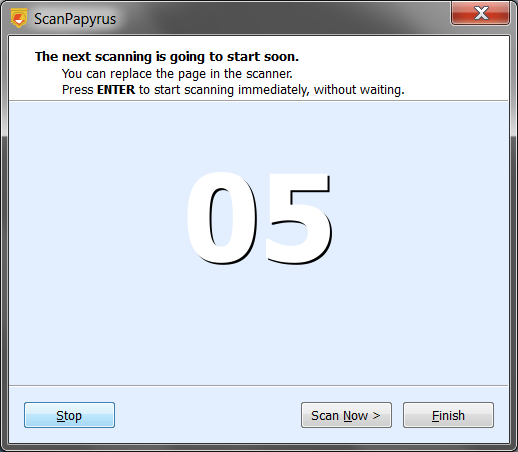
While the timer is counting down, you can replace the page in the scanner. At this step, you can either finish the batch scanning process or continue scanning. If you want to start scanning the next page without waiting for the countdown to finish, click the Scan Now > button.
Clicking the Stop button will stop the countdown timer and change the button caption to Start. Clicking the button again will start the countdown timer.

Clicking the Scan Now > button will launch the next scanning pass immediately, without waiting for the countdown to finish.

Clicking the Finish button will finish the batch scanning process.

Use these hotkeys:
Space – Pause, suspend the countdown.
Enter – Scan the following page without waiting for the countdown to finish.
Esc – Finish the batch scanning.
See also
Scanning
NAVIGATE
ABOUT US
ScanPapyrus Team develops home and office applications for Windows. Our software is known for its high quality, user-friendliness and comprehensive design.
PARTNERS
![]()